
13 Gift Wrap Station Ideas for Small Spaces (That Disappear After Christmas)
Introduction
December in a small apartment has a wrapping problem. Rolls migrate to the sofa, tape vanishes mid-gift, ribbon tangles in a drawer, and every flat surface becomes a wrapping table nobody can eat at. Then January arrives and the supplies have nowhere to go.
These 13 gift wrap station ideas give wrapping a real home in the smallest footprint possible — a door, a bed skirt, a cart — and then make the whole station disappear after Christmas. They pair with our small apartment hosting system: wrap the gifts in one place, host the people in another. Renter-friendly, no drilling, most setups under $20.
Hide the Whole Station in Plain Sight
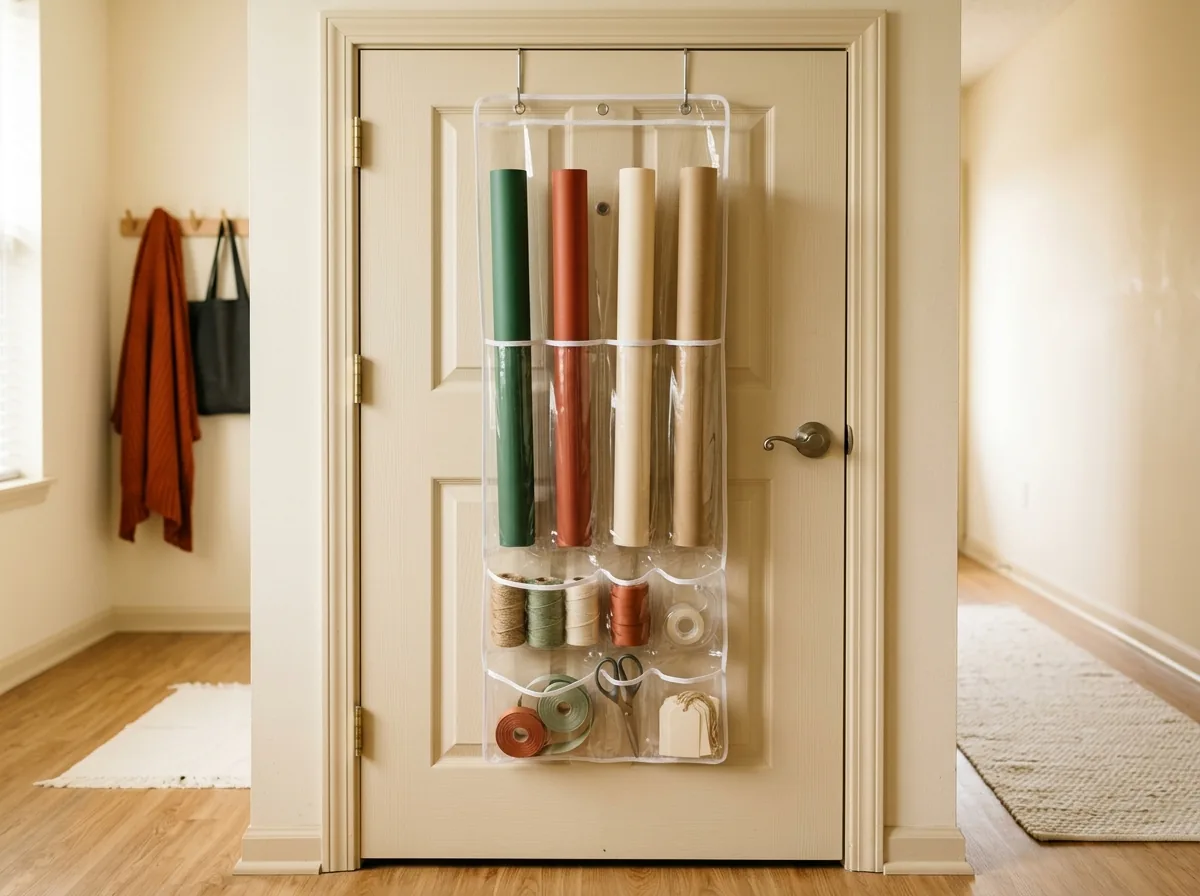
1. Hang an Over-Door Wrap Organizer
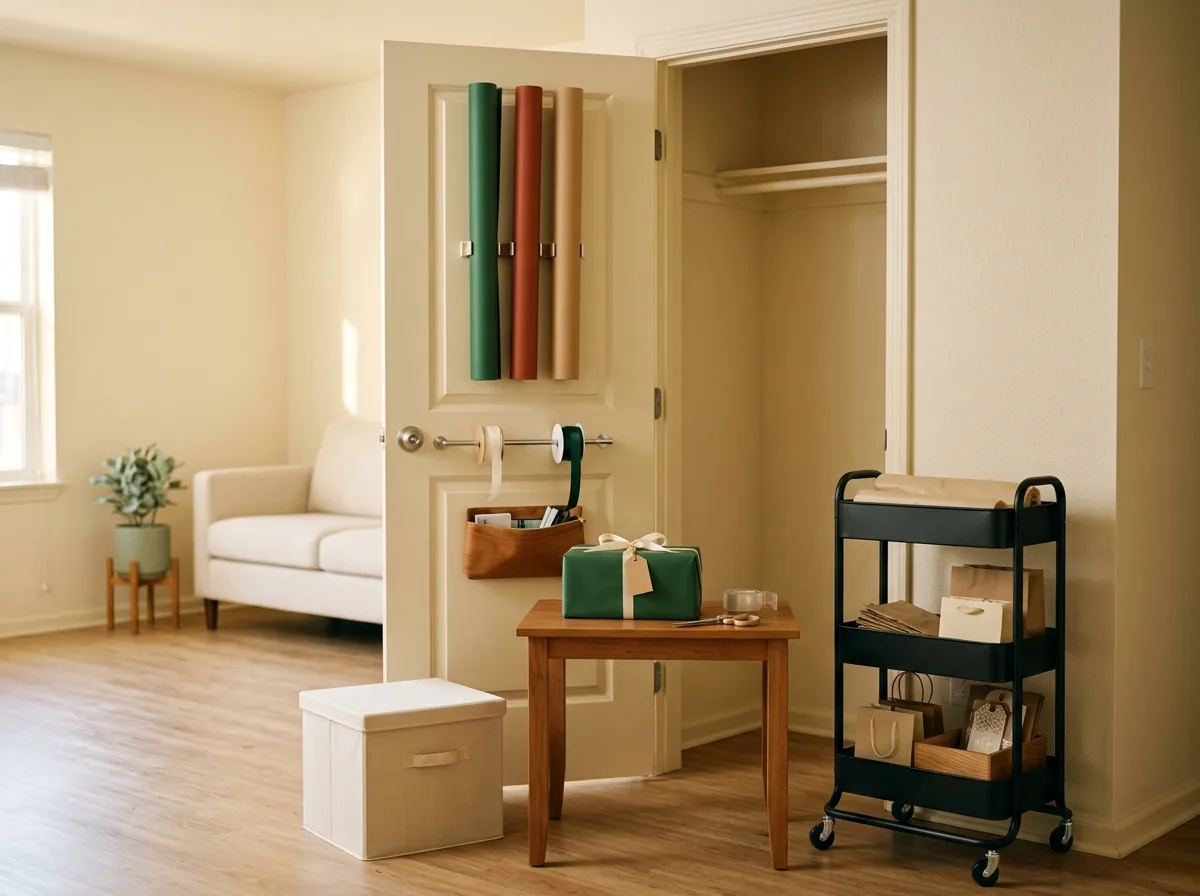
The back of a door is a full wrapping station you already own. A clear over-door pocket organizer holds rolls in the tall pockets (or an elastic-strap wrap caddy made for doors), with scissors, tape, tags and pens in the small pockets below. It fits a bedroom or closet door, swings out of sight when the door closes, and uses zero floor. Budget tip: Clear shoe organizers cost $8–$10 and work perfectly — choose one with two long pockets at the top for rolls.
2. Slide a Wrap Box Under the Bed
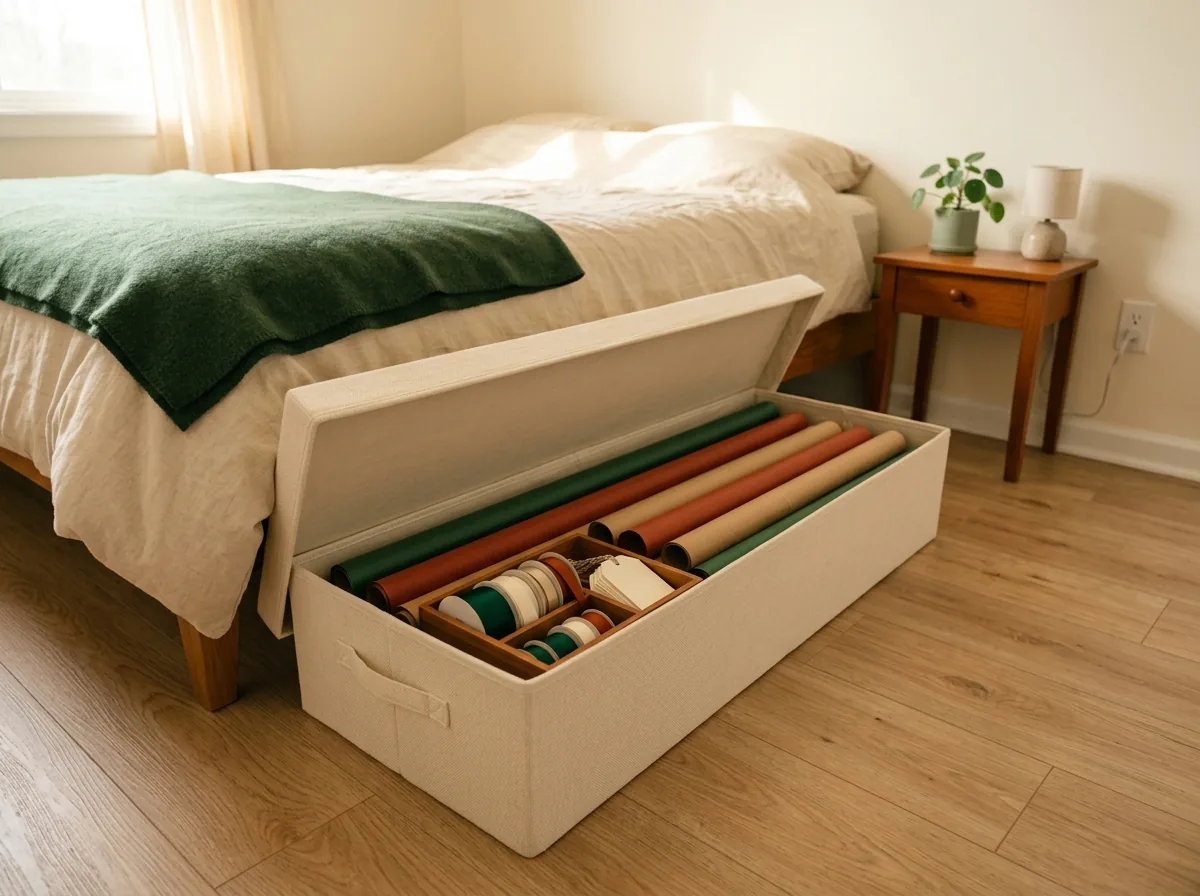
Under-bed space is the classic small-space answer, and wrapping supplies are its perfect tenant: flat, long and only needed a few weeks a year. One long, low lidded box holds rolls lengthwise, with a smaller box nested inside for ribbon, tags and tape. It slides out for a wrapping session, slides back, and the bedroom never knows. If your bed frame is too low, the same box lives on top of a wardrobe or under a sofa with clearance.
3. Turn the Inside of a Closet Door Into the Station
One closet door, fitted inside with slim hooks, a hanging organizer or a tension rod, becomes the whole station: rolls vertical on the door, a pouch for tools, bags and tissue in a hanging file. Because it is inside the closet, guests never see it — and because it is on the door, it steals nothing from the shelves or hanging rail. Measure the door’s clearance before adding anything bulky so it still closes cleanly.

Make the Station Come to You
4. Roll In a Cart Wrap Caddy
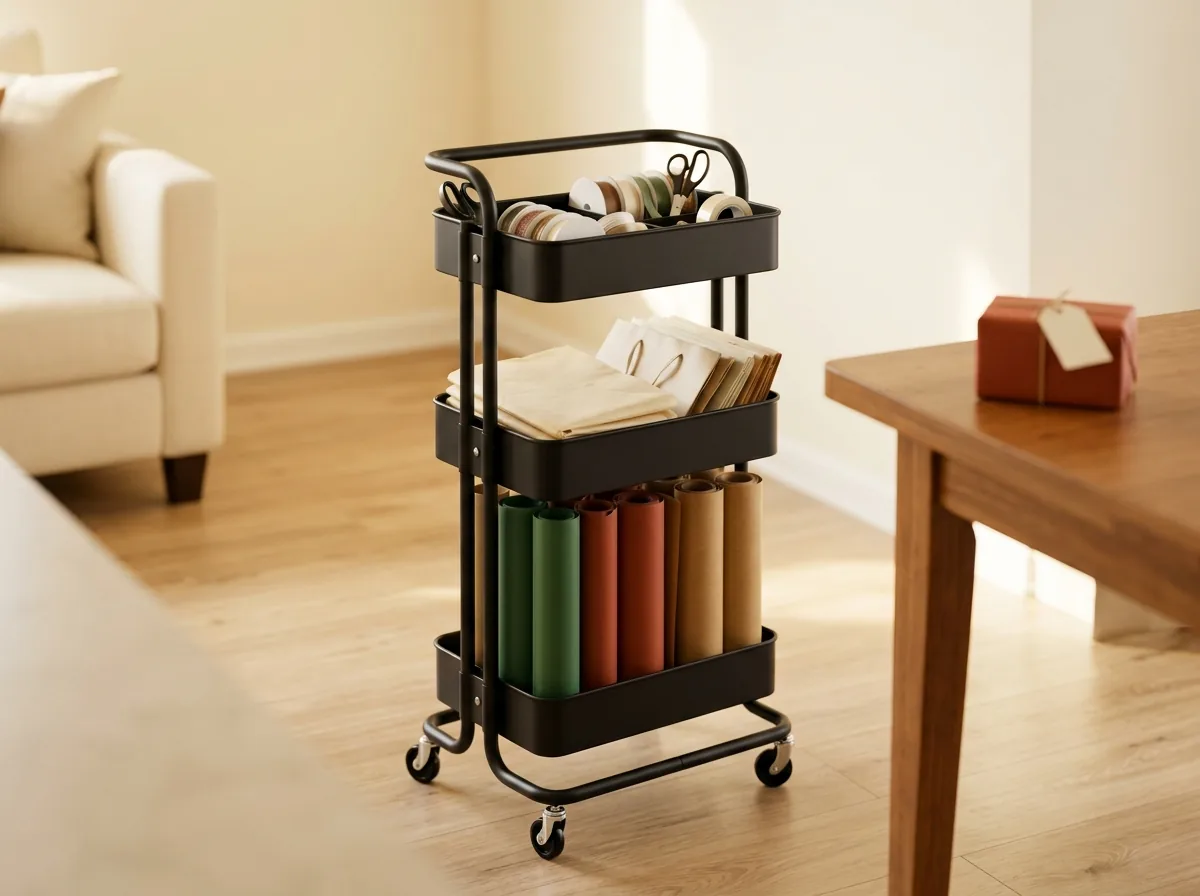
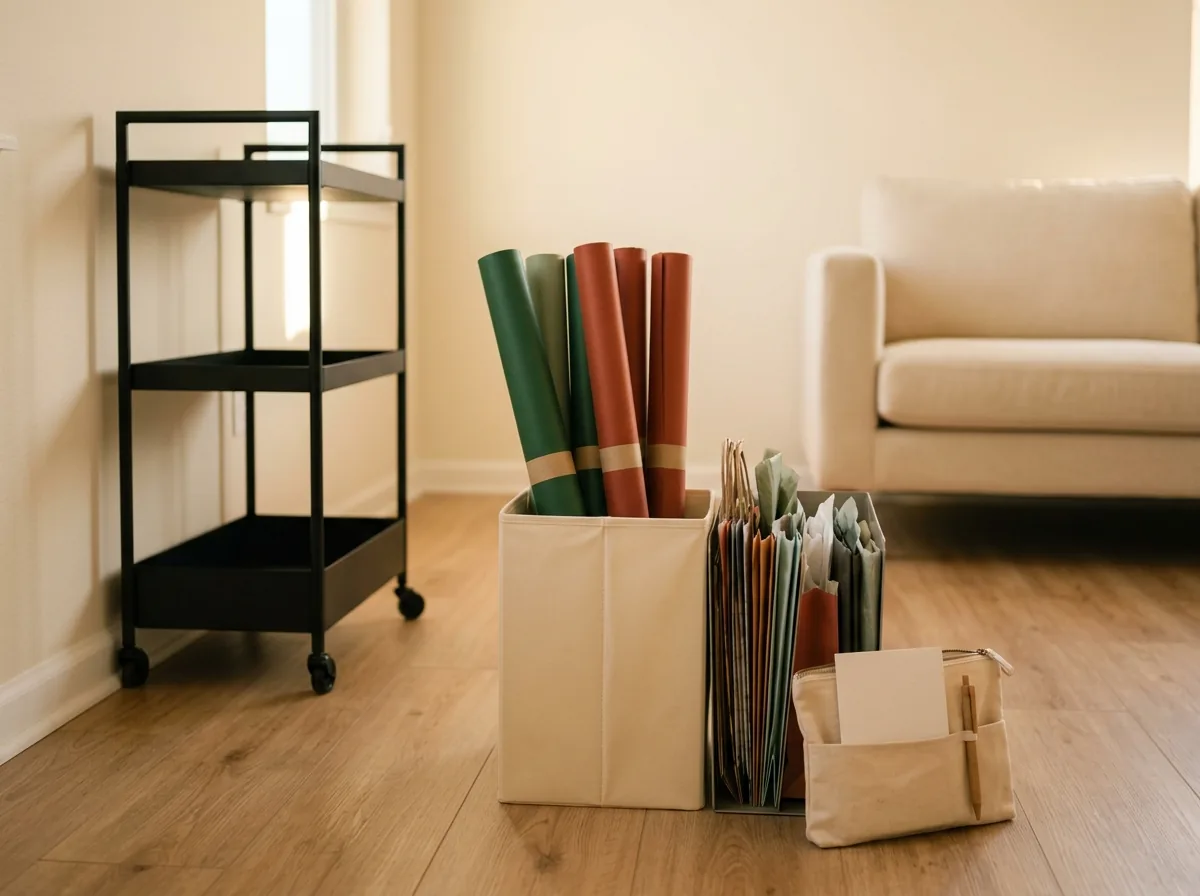
A slim three-tier rolling cart becomes a mobile wrap station: rolls stand upright in the deep bottom tier, ribbon and tools ride on top, tissue and bags fold flat in the middle. Roll it to the table for wrapping night, park it in a closet or the fridge-gap corner afterwards. It is the same satellite logic as the rolling cart in our small kitchen counter system — storage that moves to the job instead of the job moving to the storage. Budget tip: Basic three-tier carts run $15–$25 and earn their keep all year as pantry, bathroom or craft overflow.
5. Stand Rolls Upright So They Never Get Crushed
Crushed, creased rolls are why wrapping looks messy by mid-December. The fix is vertical storage: rolls standing upright in a tall bin, umbrella stand or the corner section of the cart, held snug with a fabric band or a spare ribbon tie so they do not splay. Tubes stored on their ends keep their edges crisp, stay visible at a glance, and take up one square foot of floor at most.
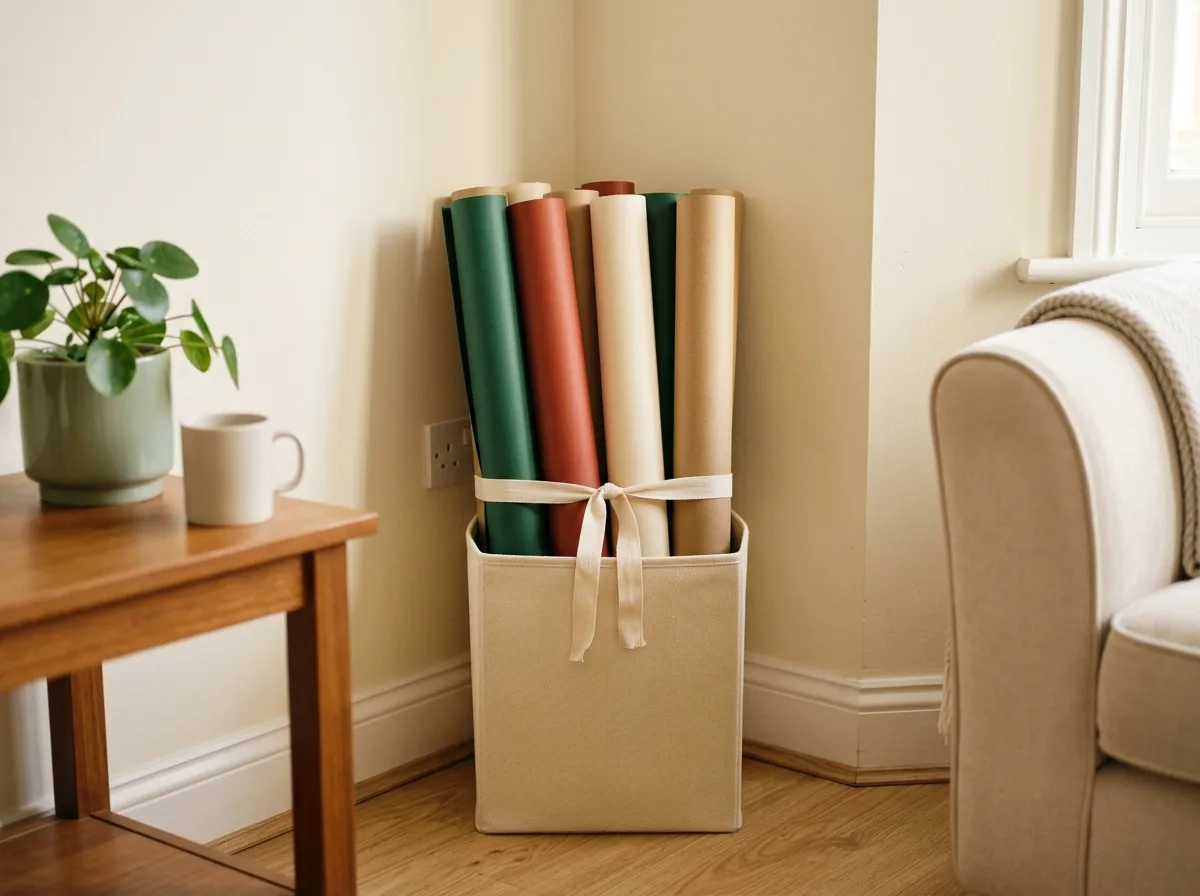
6. Fold Down a Wrapping Surface Anywhere
Wrapping needs a flat surface more than it needs a room. A drop-leaf or gate-leg table opens to full wrapping size and folds to a slim console against the wall — the same furniture-that-works-twice thinking as our cozy small living room storage ideas. No table? An ironing board at counter height is a genuinely good wrapping surface, and a large cutting mat turns any dining table into a measured, grid-lined wrap bench that stores flat behind a door.

Give Every Supply Its Own Slot
7. Thread Ribbon Onto a Tension Rod
Loose ribbon spools unravel into every drawer they touch. Thread them onto a slim tension rod or wooden dowel mounted inside the station — across the cart’s top tier, inside the closet door, or between two hooks under a shelf. Spools spin freely, tails stay untangled, and you pull and snip without removing a thing. Budget tip: A short tension rod costs $3–$5 and needs no hardware at all.

8. File Tissue, Bags and Tags in One Slim Box
Tissue paper, gift bags and tag cards die by folding, squashing and scattering. File them upright instead: one slim magazine file, standing folder or the flat middle tier of the cart, sorted bags at the front, tissue behind, tags in a small envelope clipped to the side. Filing keeps tissue unwrinkled for a second use and makes last year’s gift bags a system instead of a guilt pile.

9. Keep a Tools Pouch That Never Gets Raided
Every wrapping session loses twenty minutes to hunting scissors and tape. End it with one pouch that lives in the station and only in the station: scissors, two tape rolls, a pen, a ruler, glue stick, spare tags. The rule that makes it work: the pouch is never borrowed for other jobs. When wrapping ends, everything goes back in the pouch in one motion — the station’s whole closing routine in under a minute.

10. Give the Gifts Themselves a Holding Shelf
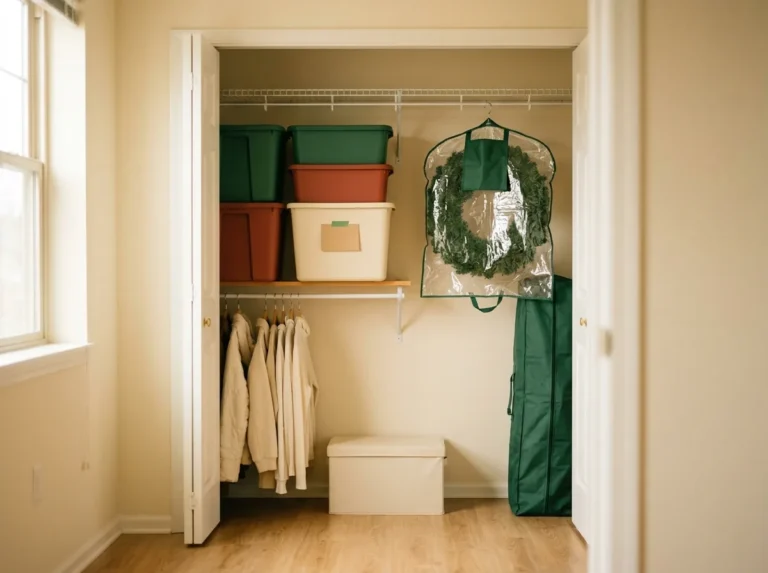
Supplies get organized; the wrapped and unwrapped gifts pile on the bed. Claim one holding spot — a closet shelf section, the storage ottoman, a lidded bin under the station — split into “to wrap” and “wrapped.” Bought-ahead gifts stop migrating around the apartment, nothing gets bought twice, and wrapped presents stay un-squashed and un-peeked-at until the day. A sticky note on the bin listing contents replaces memory in late December.
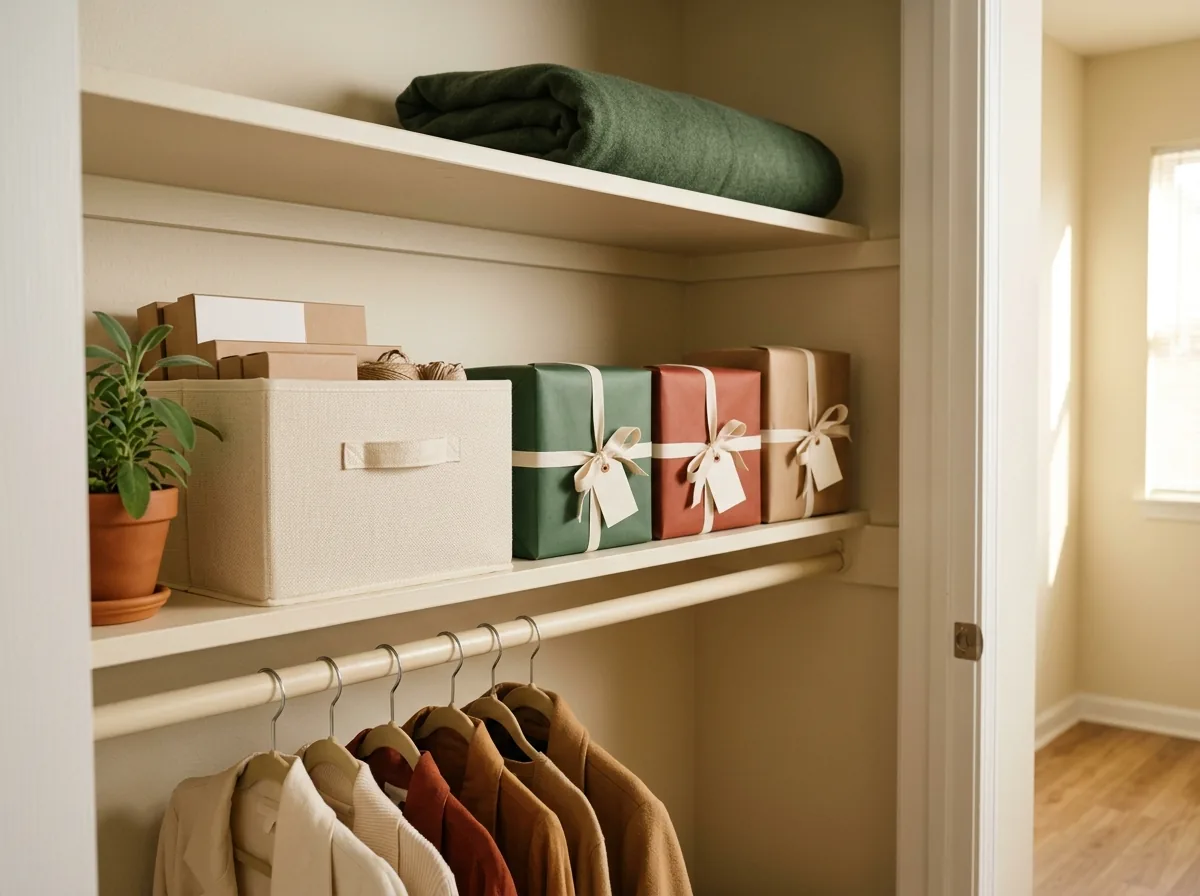
Use Every Scrap, Then Make It Vanish
11. Keep a Scrap Envelope for Small Gifts and Tags
Every roll produces offcuts too good to bin and too small to store loose. One large envelope or clear zip pouch in the station catches them all: jewellery-size gifts, bottle wraps, jar-lid covers, and DIY gift tags cut from the prettiest scraps. It costs nothing, shrinks the new-paper you buy next year, and keeps the station tidy between sessions. Budget tip: This year’s scraps are next year’s tags — a $0 supply restock.
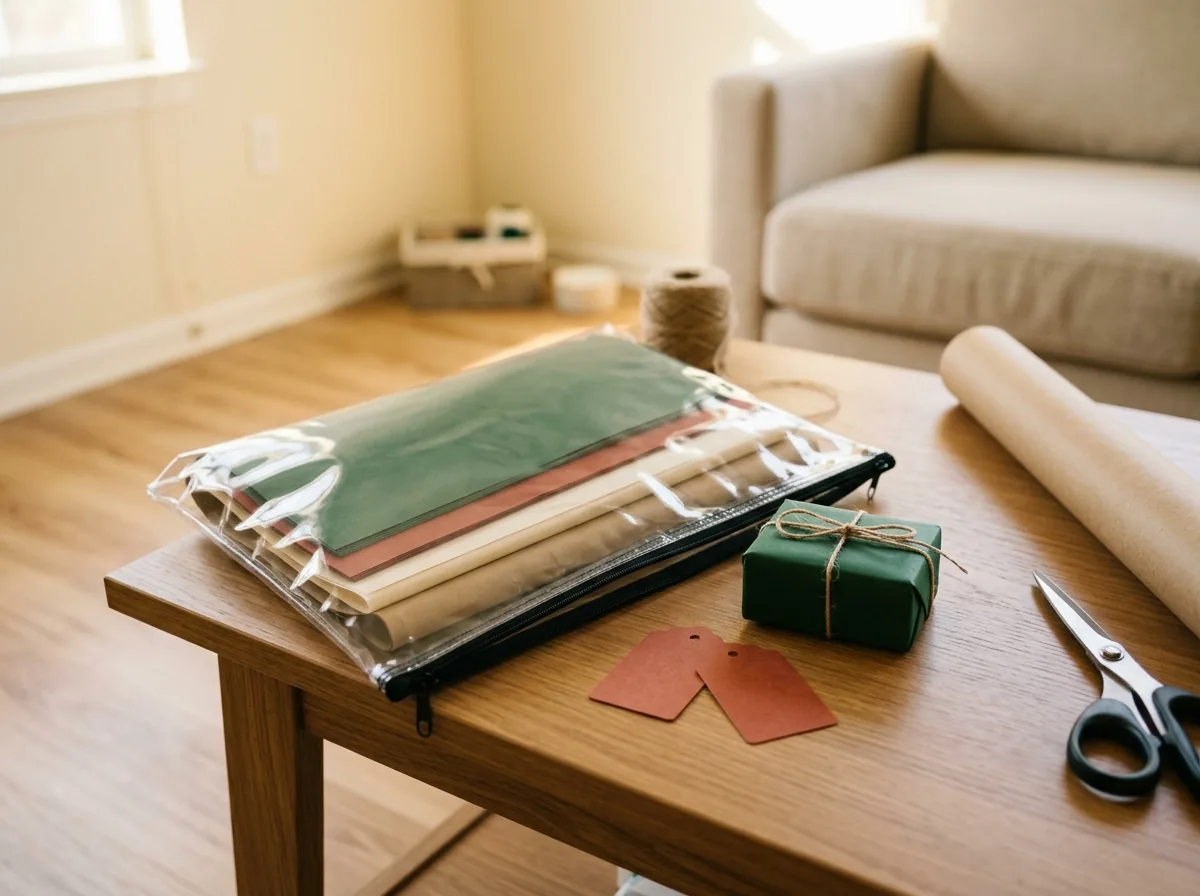
12. Store Leftover Holiday Paper Flat and Sorted
When the season ends, do not toss the rolls in a corner to crease until next December. Group leftover paper by type — Christmas rolls together, birthday and all-occasion in a second group — secure each roll with a paper band so it cannot unravel, and lay them flat in the under-bed box, a zippered garment bag hung in the closet, or the wrap caddy parked in its corner. Flat, banded and grouped is the whole secret to paper that looks new next year.
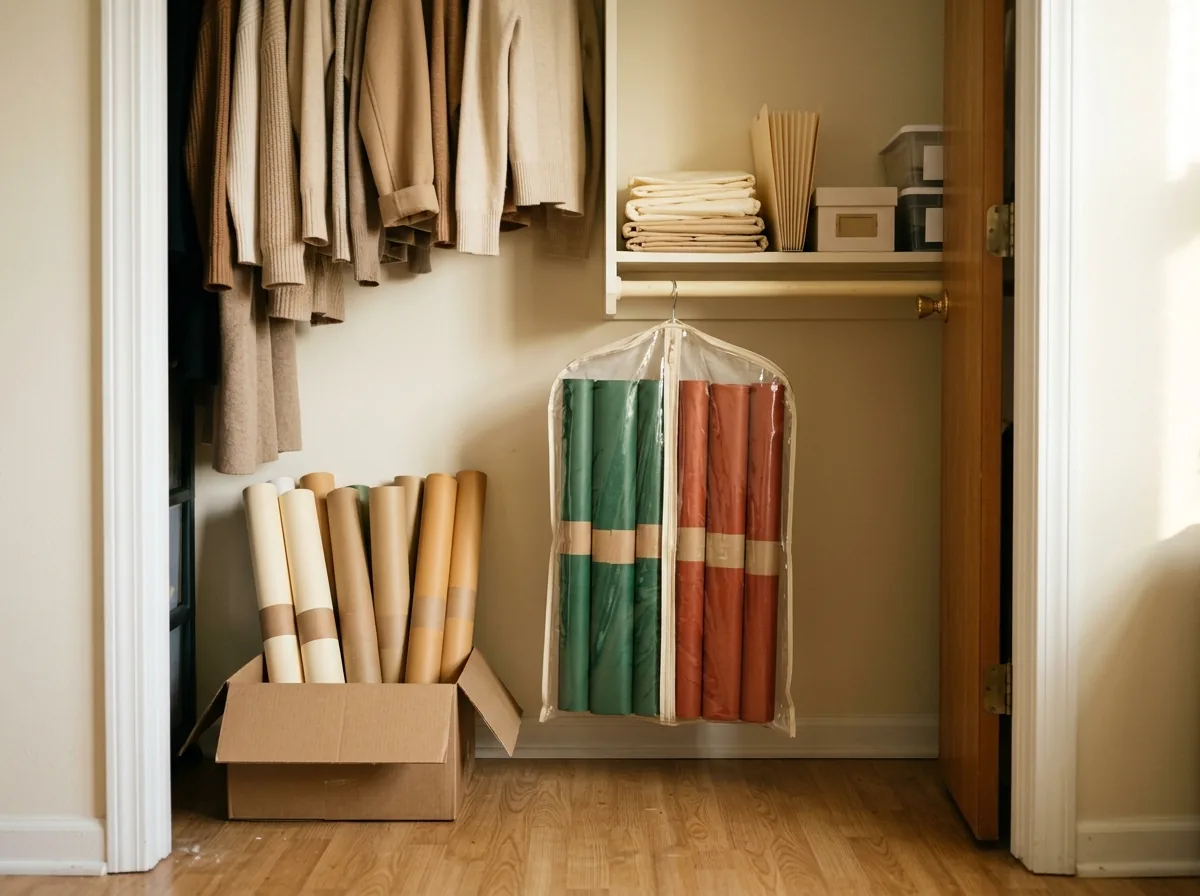
13. Do the 10-Minute January Reset Before You Store It
Before the station disappears, spend ten minutes on future you: count the rolls and tape left, note what ran out, rescue the good gift bags and tissue, empty the scrap envelope of anything tatty, and restock the tools pouch. A note in the pouch — “2 rolls left, need tape + tags” — turns next December’s setup into opening a box instead of starting over. Then close the door, slide the box, or park the cart: station gone until next season.
Gift Wrap Station Checklist
Set this up once, before wrapping season starts:
- One home chosen: over-door, under-bed, closet door or rolling cart
- Rolls stored upright or flat — never loose in a corner
- Ribbon on a rod; tissue, bags and tags filed upright in one slim box
- Tools pouch stocked: scissors, tape ×2, pen, ruler, glue stick, tags
- Gift holding spot split into “to wrap” and “wrapped”
- Scrap envelope in the station; January reset note ready for the pouch
Frequently Asked Questions
How do I make a gift wrap station in a small apartment with no spare room?
You do not need a room — you need one vertical or hidden footprint. Hang the station on the back of a door, slide it under the bed, fit it inside a closet door, or load it onto a rolling cart that parks in a corner. Each option holds rolls, ribbon, tools and tissue in under two square feet and hides completely when guests arrive.
How do you store wrapping paper without it getting crushed?
Store rolls upright in a tall bin or cart tier, or flat in a lidded under-bed box — never loose in a corner or stuffed behind furniture. Band each roll with a strip of paper so it cannot unravel, keep tubes on their ends, and keep paper away from anything heavy. Upright or flat, snug and banded: those three keep edges crisp all year.
Where do renters store gift wrap without drilling or a closet?
Over-door organizers hang with no hardware, under-bed boxes need no installation, and tension rods grip with spring pressure alone. A rolling cart needs nothing at all. Every station in this list installs with hands only, removes in minutes, and moves with you — deposit fully intact, landlord none the wiser.
What should a small gift wrap station actually hold?
The working kit is small: 3–5 paper rolls, ribbon on a rod, a tools pouch (scissors, tape, pen, ruler, glue stick, tags), tissue and gift bags filed upright, a scrap envelope, and one holding spot for gifts themselves. Anything beyond that — extra rolls, bulk bags — is back-stock that can live in the under-bed box instead of the working station.
How do I store leftover Christmas wrapping paper until next year?
Sort it before you store it: band each roll so it stays shut, group Christmas paper separately from all-occasion paper, fold good tissue flat, and keep rescued gift bags in the same container. Store flat under the bed, in a garment bag in the closet, or in the parked cart — then add a note of what ran out so next year’s setup takes minutes.
Conclusion
A gift wrap station for a small space is not a craft room. It is one door, one box or one cart where rolls stand upright, ribbon stays untangled, tools live in one pouch, and scraps get a second life — and when the holidays end, the whole thing slides, closes or rolls out of sight until next year.
Then finish the holiday setup the same way: host the people with 23 Hosting Ideas for Small Apartments: Feed 8 People in a Tiny Living Room, clear the cooking space with 29 Small Kitchen Counter Organization Ideas Before Holiday Cooking Starts, keep the living room cozy with 21 Cozy Small Living Room Ideas That Add Storage Without Adding Furniture, and start the whole-home plan here: 31 Small Space Organization Ideas That Make Every Room Feel Bigger.
Save this on Pinterest — so wrapping night runs from one tidy station instead of the whole sofa. Follow HomiBloom for simple ideas to make your home bloom.





One Comment