
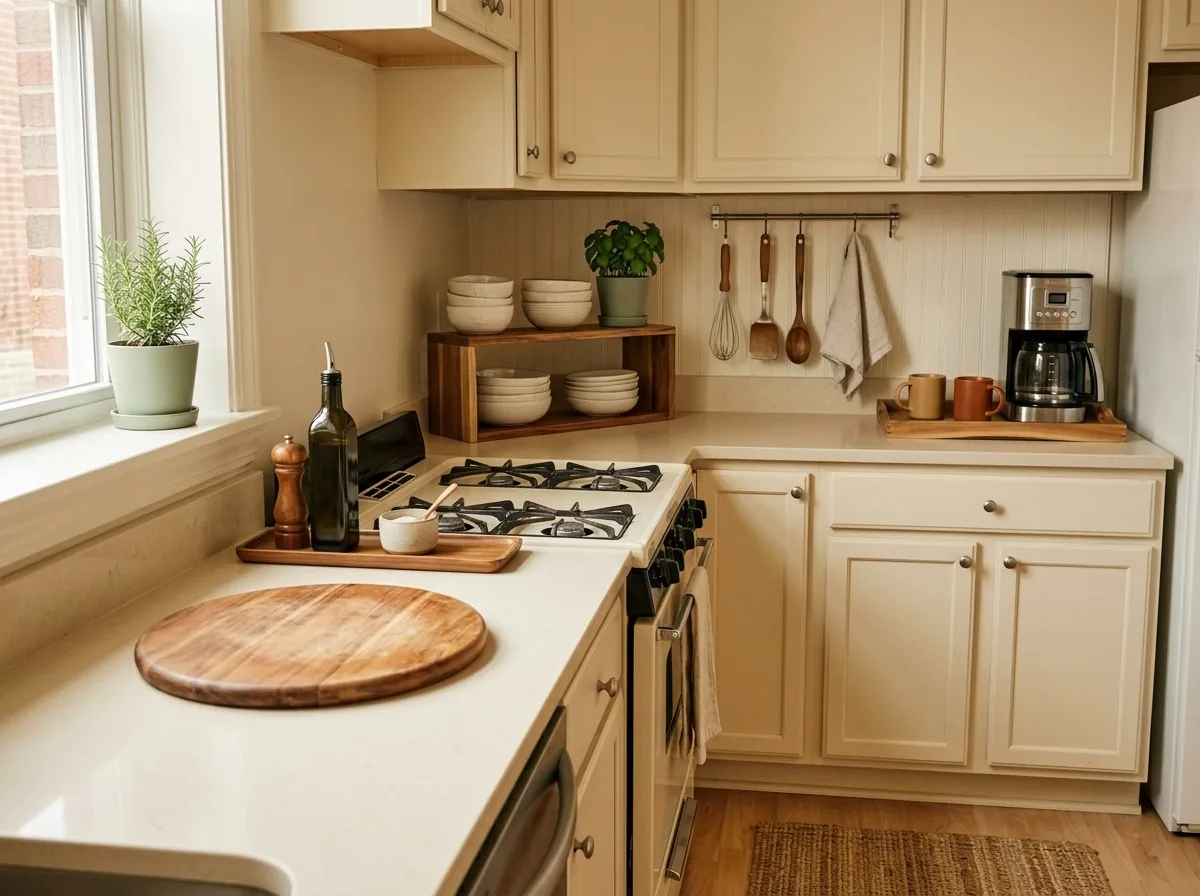
29 Small Kitchen Counter Organization Ideas Before Holiday Cooking Starts
Introduction
Holiday cooking in a tiny kitchen fails in one predictable place: the counter. The turkey needs a board, the pies need a landing spot, three pans need staging — and every inch is already holding a toaster, a paper pile and bottles nobody has touched since September.
These 29 small kitchen counter organization ideas fix the counter before the big cooking days arrive. They build directly on our no-pantry kitchen system: zone what stays, move everything else up, down or out, and keep it clear with tiny routines. Renter-friendly, no drilling, most under $15.
Start With Zones, Not Storage
1. Divide Your Counter Into 4 Zones
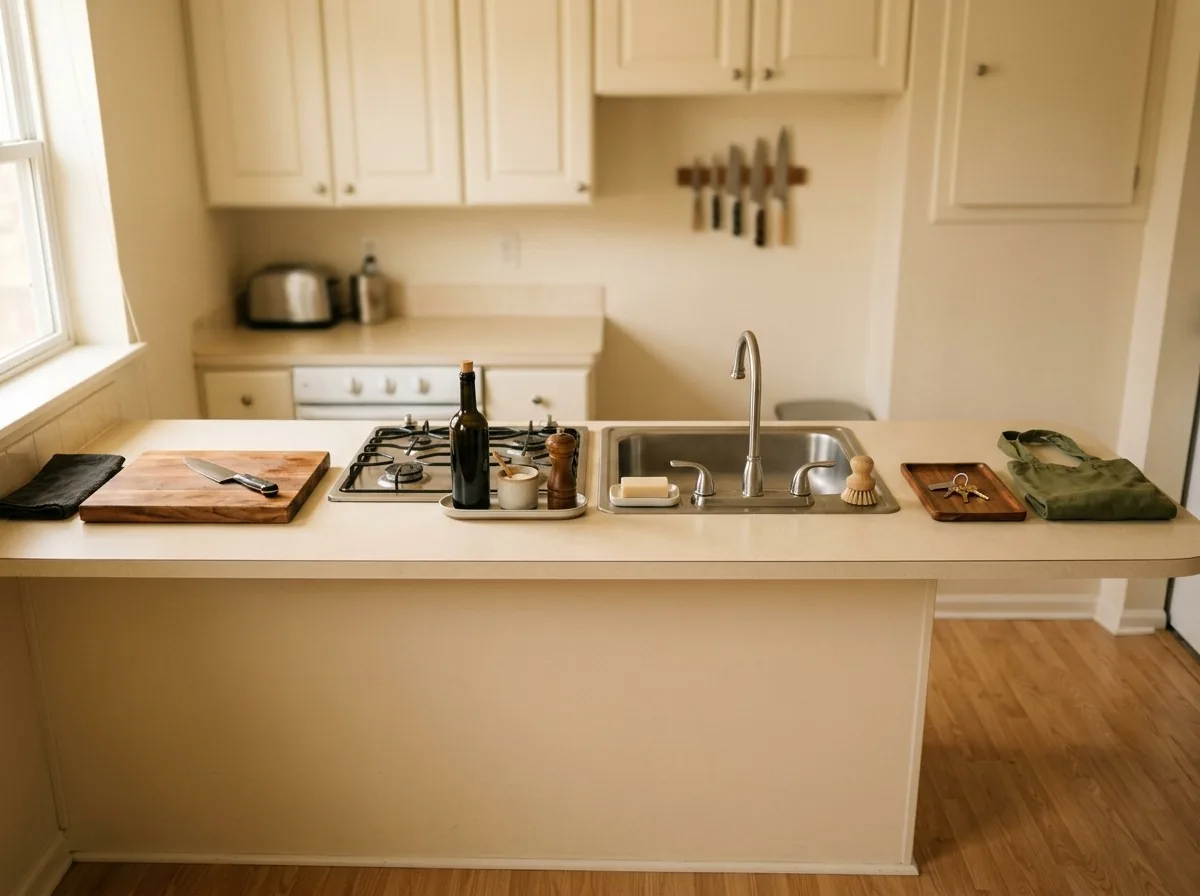
Before buying a single organiser, assign the jobs: a prep zone (your main chopping stretch, usually beside the sink), a cooking zone (either side of the stove), a sink zone (washing and drying), and a small landing zone where groceries and hot pans touch down. Everything must belong to one zone — anything homeless moves out. Zones beat bins: they tell every object where it lives.
2. Run the Daily-Use Test
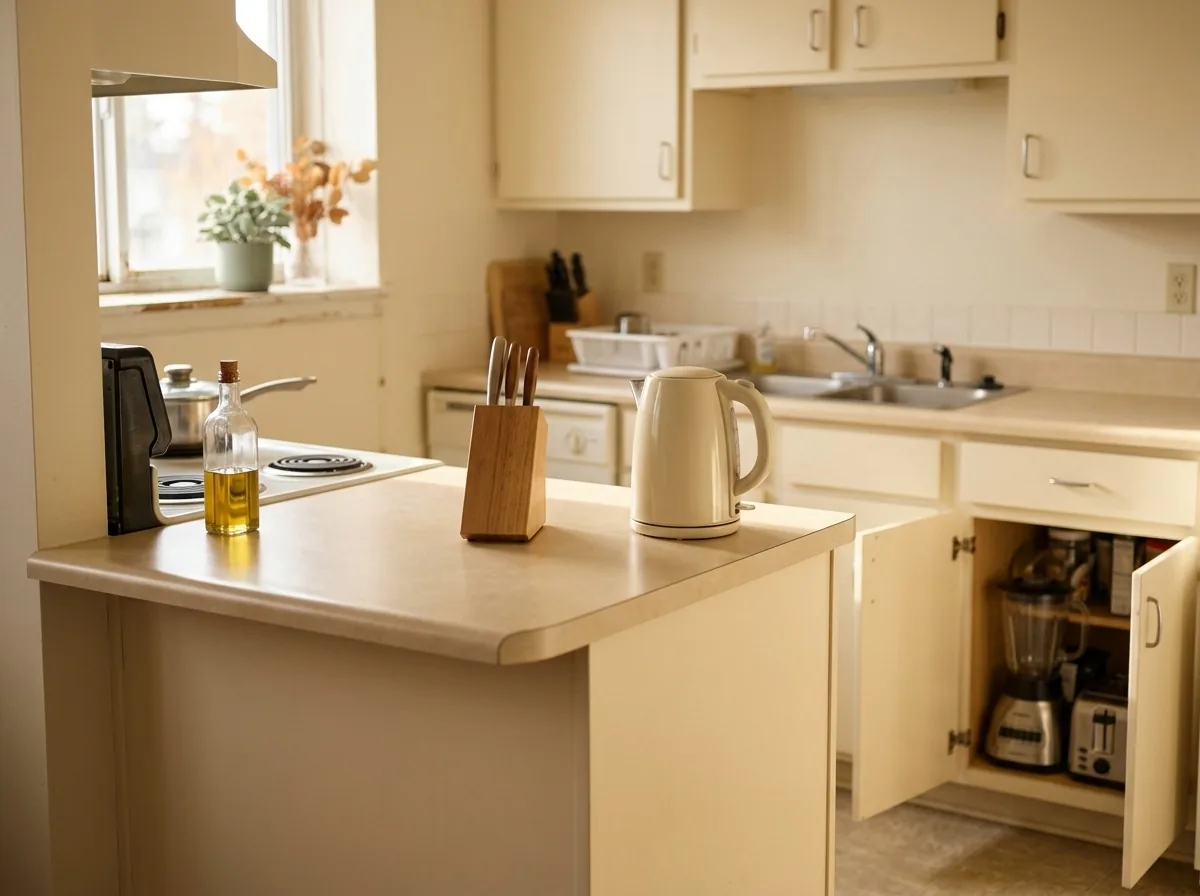
Interrogate every item: did I use you yesterday, or will I use you today? Only daily items earn counter space — the kettle, the knives, the oil you actually cook with. Weekly items move to a cabinet; monthly items leave the kitchen. Same logic as our clear bathroom counter rule: a counter is a workplace, not a shelf. Budget tip: This costs $0 and usually frees a third of the counter in ten minutes.
3. Set Up a Landing Strip
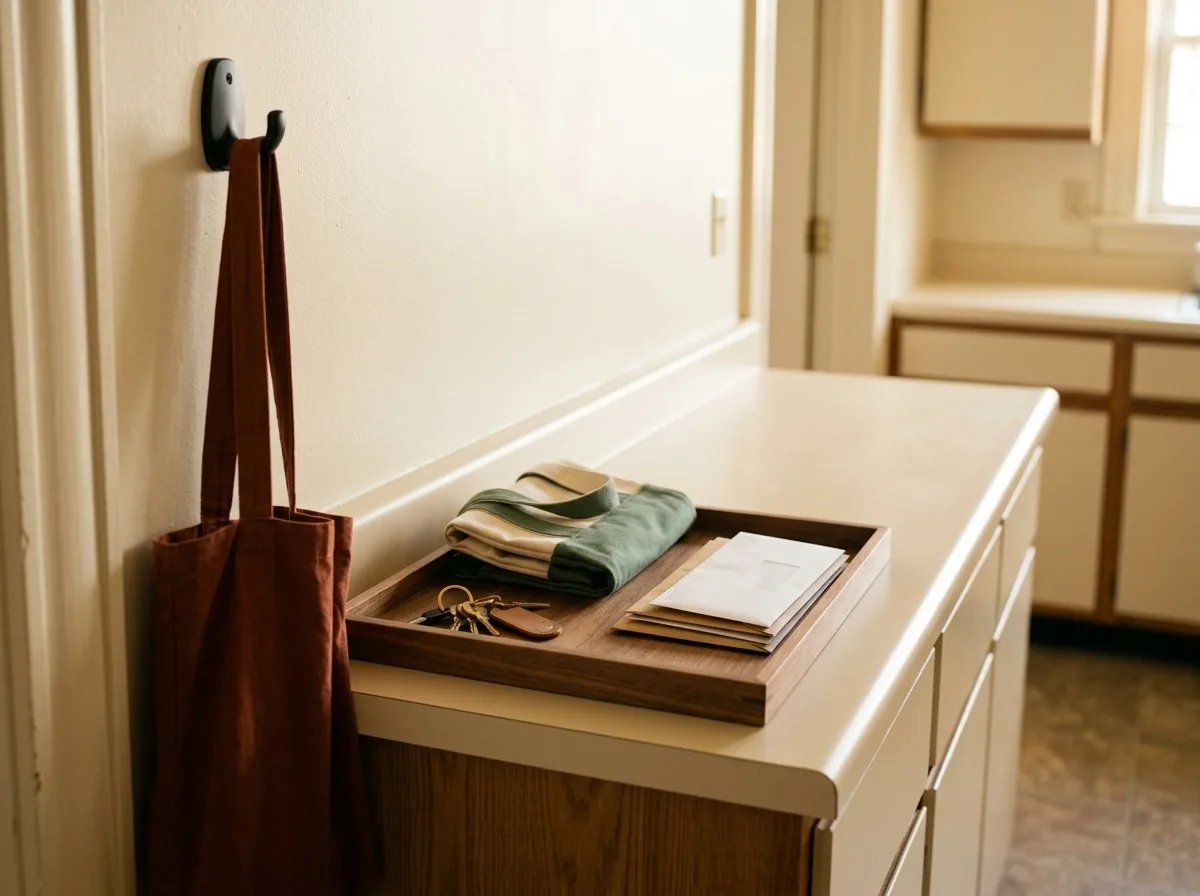
Groceries, keys, post and bags land on the nearest flat surface — which should never be your prep stretch. Claim one deliberate landing strip instead: the counter end nearest the door, or a wall hook plus a small tray. Everything incoming touches down there and gets sorted in the nightly reset (Idea 26). Containing the chaos to a few inches protects every other zone.
4. Keep One Stretch of Counter Completely Empty
Protect one run of counter — ideally 60 cm beside the sink — that stays empty by law. Not “mostly clear”: empty. This is your runway for chopping, rolling dough, cooling trays and plating. When something tries to colonise it, the rule lets you move it instantly instead of negotiating. In holiday cooking, this stretch means calm instead of chaos. Budget tip: A large wooden board living flat there guards the space.

5. Evict the Paper Pile for Good
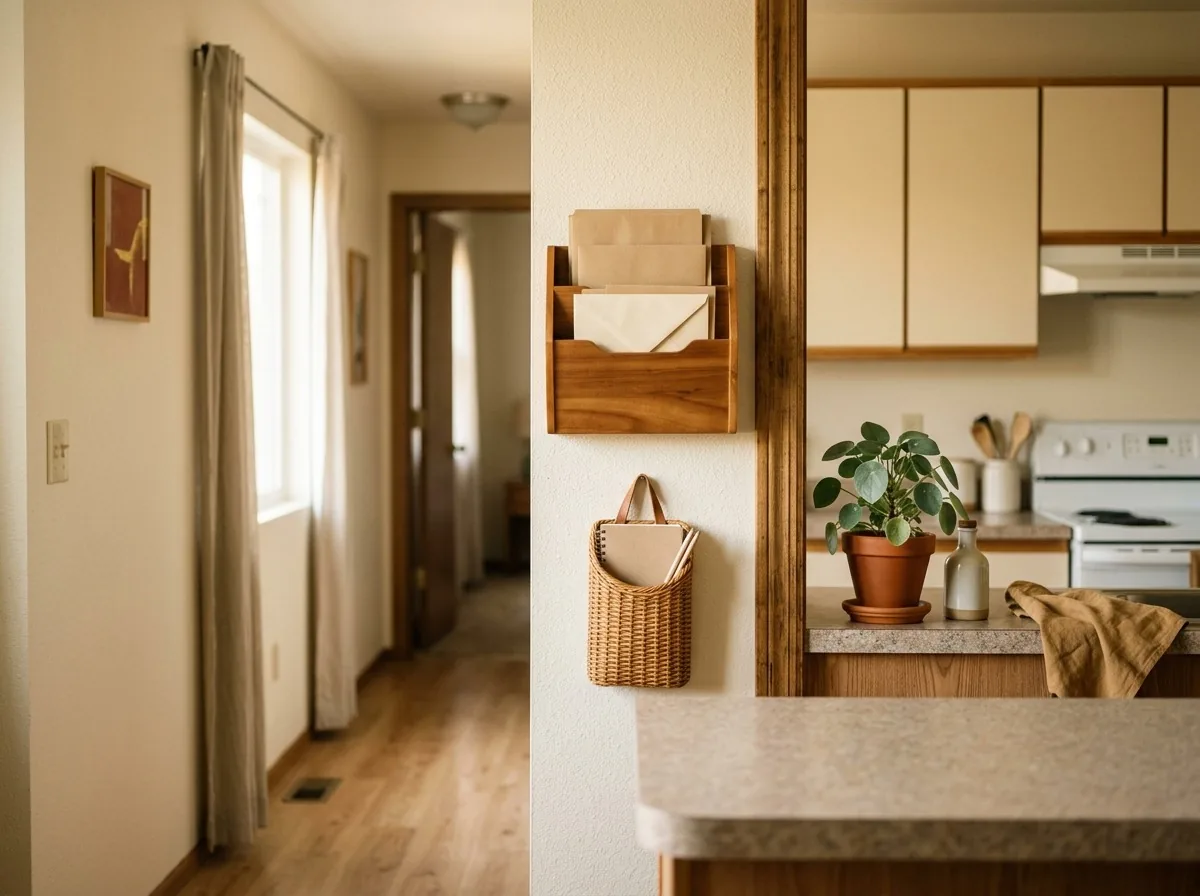
The counter paper pile — post, flyers, notes, receipts “to file” — is a zone-killer because it spreads. Give paper a home that is not horizontal: a wall-mounted file by the door, or one slim basket emptied every Sunday. Paired with the landing strip (Idea 3), paper never reaches the counter at all. Kitchen counters are for cooking; paper gets an address elsewhere.
Move Storage Up: Walls, Rails & Magnets
6. Hang a Rail for Utensils and Tools
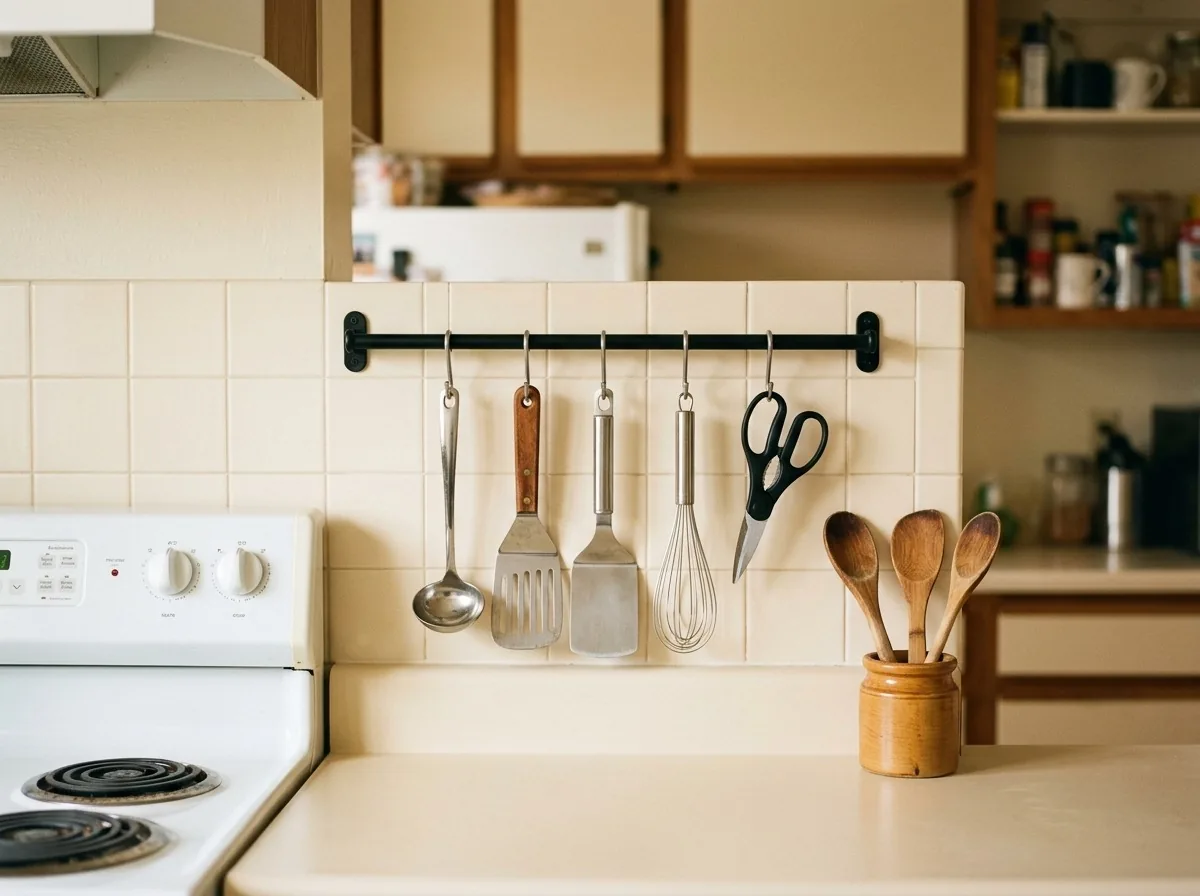
A simple rail with S-hooks — adhesive-mounted or tension-fitted for renters — moves ladles, spatulas, whisks and scissors off the counter and out of the drawer jam. Hang it beside the stove, inside the cooking zone, so tools are reachable mid-stir. The chunky utensil crock then shrinks to three everyday tools or leaves the counter entirely. Budget tip: Rails run $8–$12; a $3 pack of S-hooks fits almost any bar you already own.
7. Add an Adhesive-Mount Magnetic Knife Strip
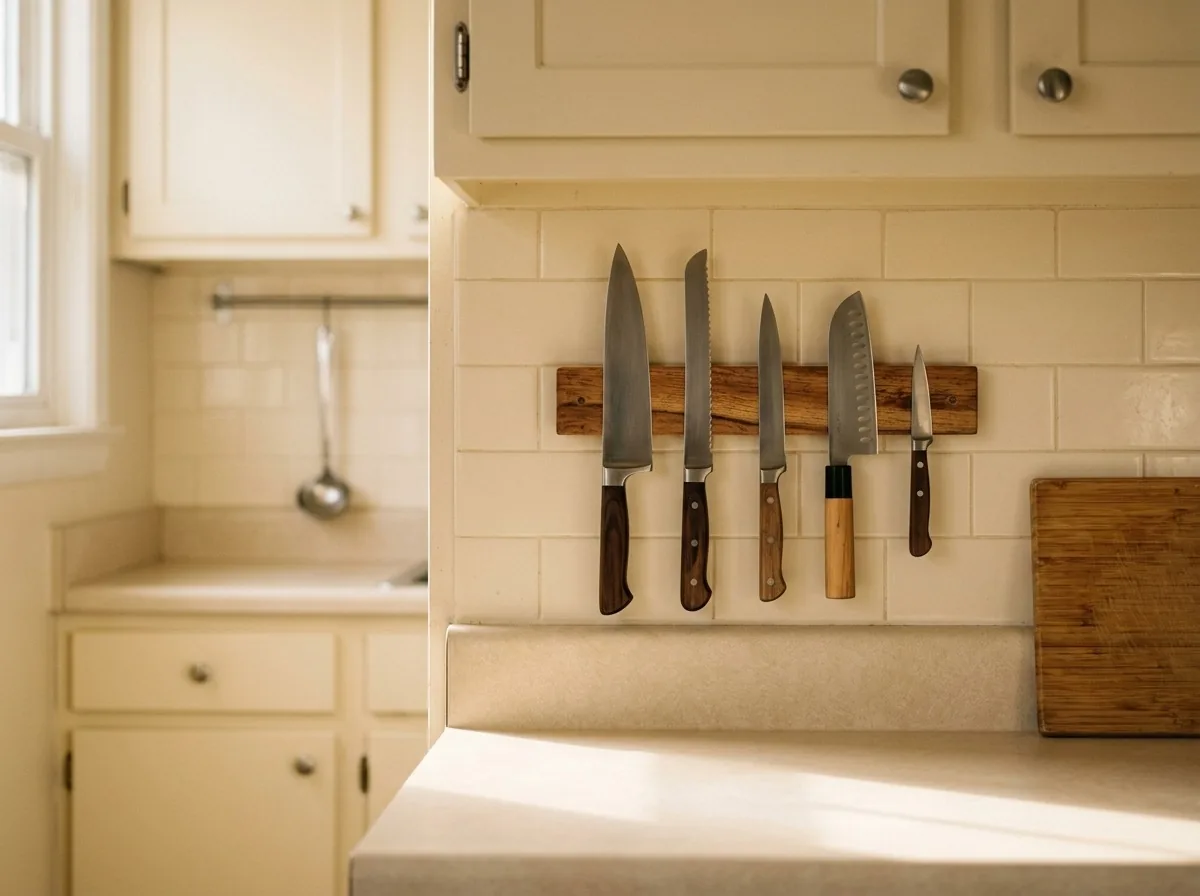
Knife blocks eat a square foot; drawer jumbles are a cut waiting to happen. A magnetic strip fixes both. Renters should choose adhesive-mount versions rated for knife weight, applied to clean tile or a cabinet side — or inside a cabinet door. Knives sit visible, dry and grabbable, and the block’s footprint returns to the prep zone.
8. Move Paper Towels Under the Cabinet
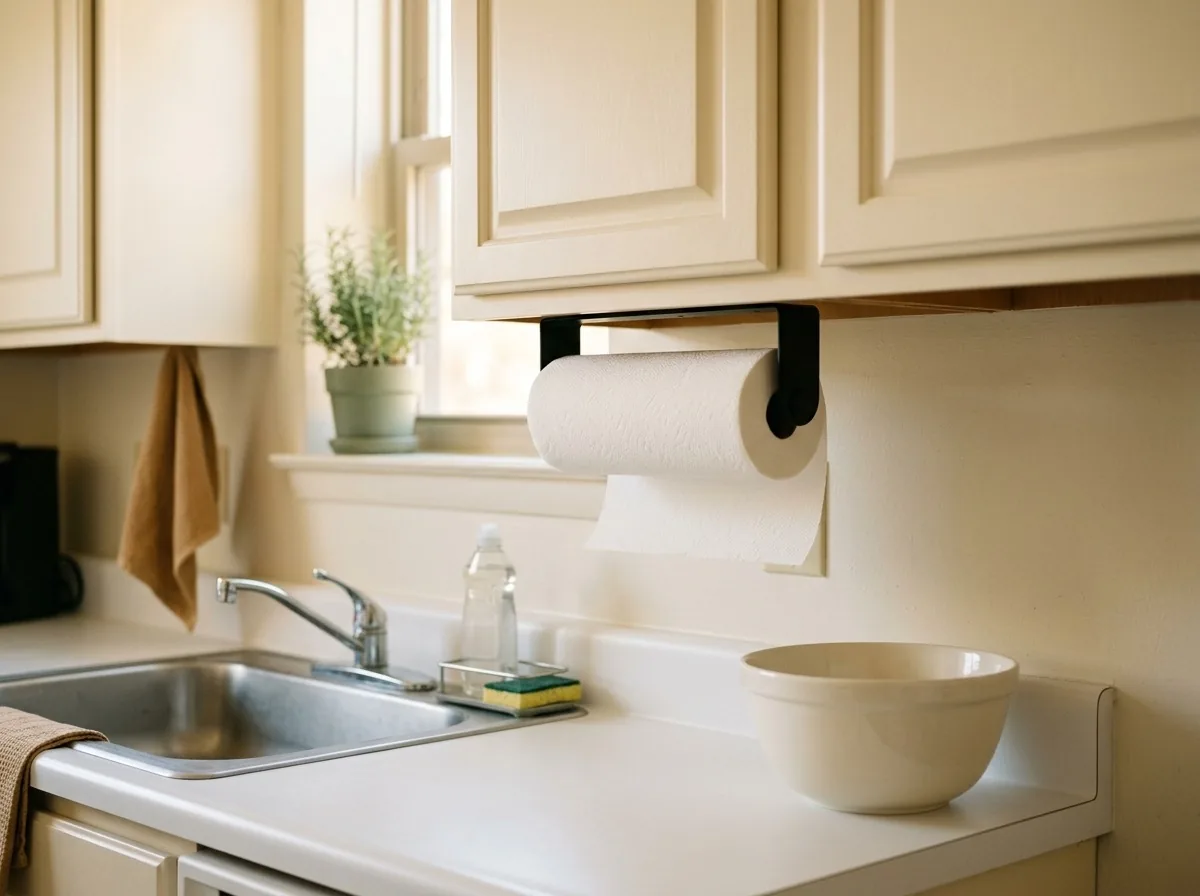
A standing towel holder claims prime counter for a roll that weighs nothing. An adhesive under-cabinet holder parks it in dead air space above the sink zone — drips fall in the sink, and the roll stays reachable one-handed. The freed circle of counter fits a mixing bowl, exactly the swap a small kitchen needs.
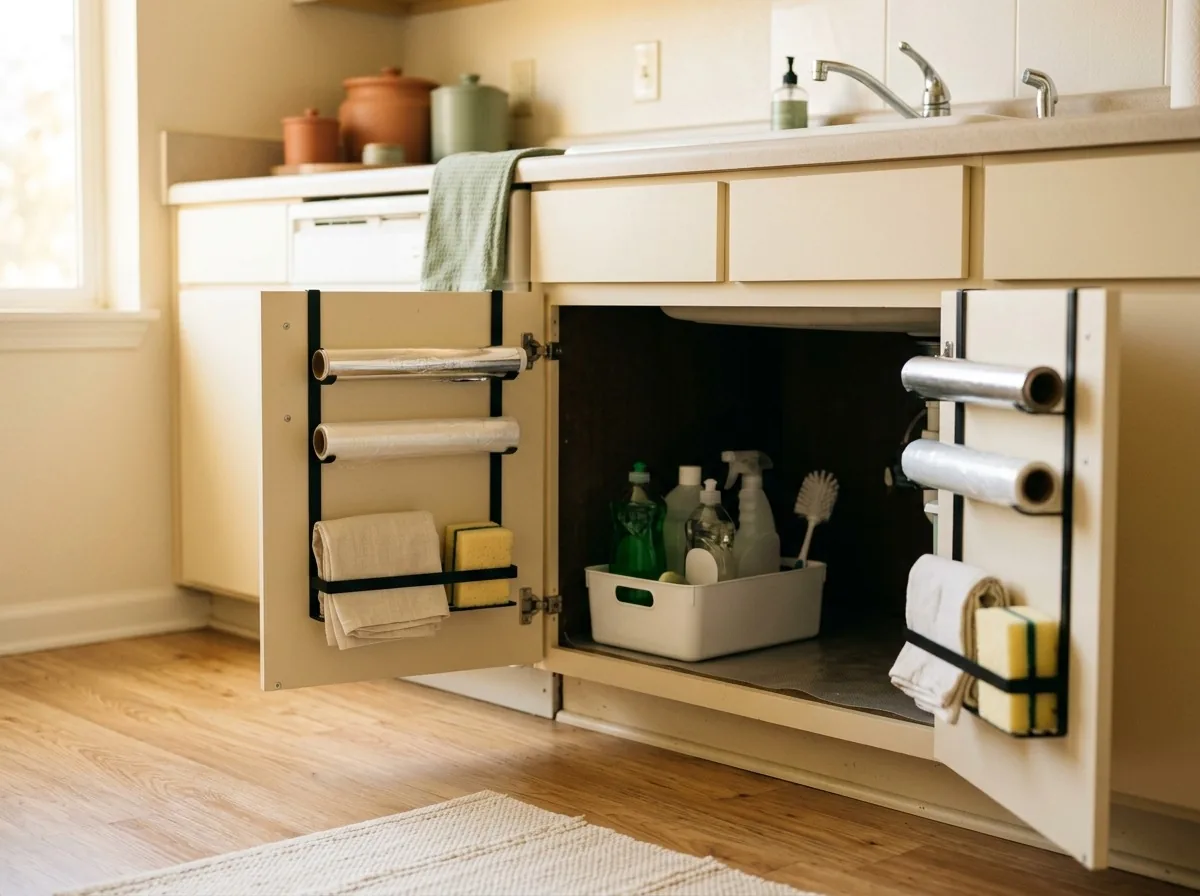
9. Use the Inside of Every Cabinet Door
Cabinet doors are storage walls you already own. Slim over-door racks and adhesive hooks inside doors hold film and foil, cloths, bin bags and spare sponges — flat things that otherwise pile beside the sink. Measure first so doors still close. The under-sink pair works hardest, carrying the whole cleaning caddy. Budget tip: Two-packs of over-door hooks cost about $5 and install in seconds.
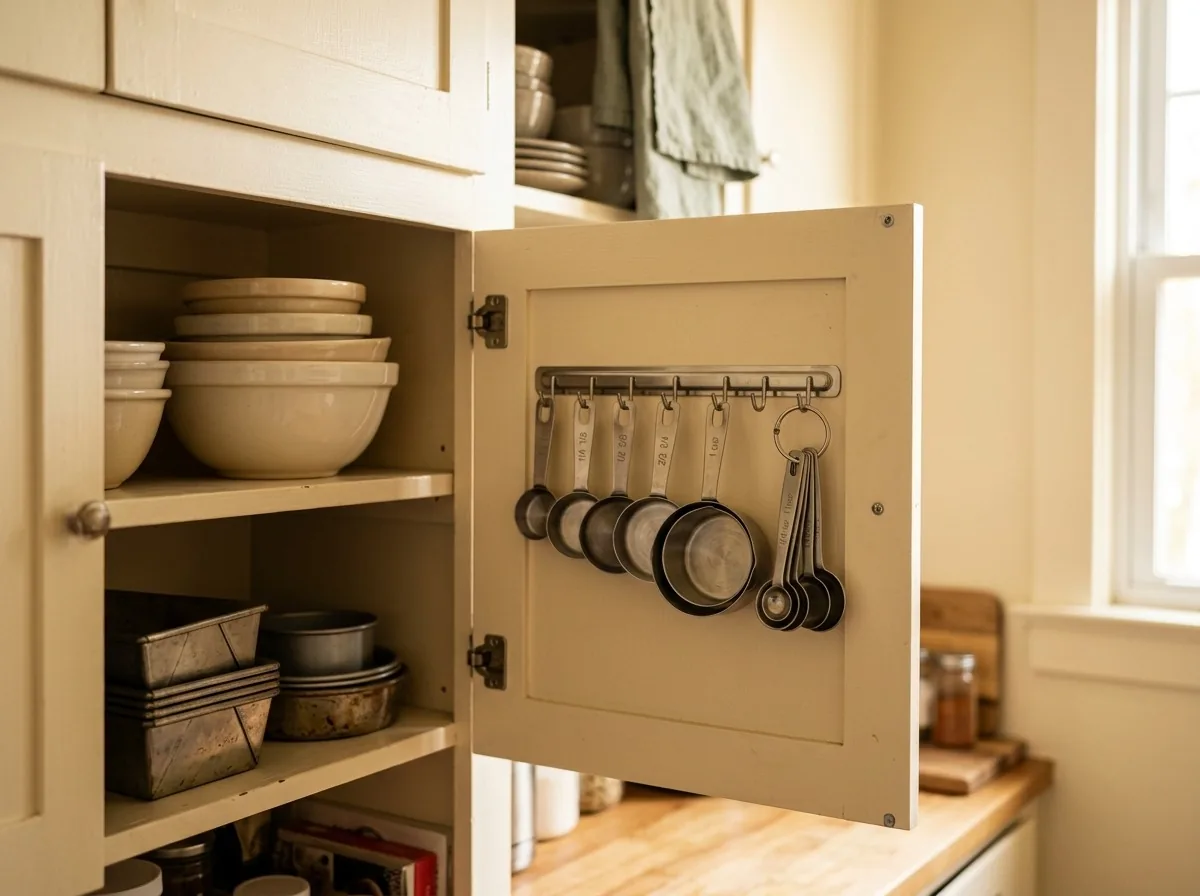
10. Hang Measuring Cups and Spoons on a Door
Measuring cups nest, tangle and vanish into drawer chaos precisely when a recipe is mid-flow. Fix it with a small adhesive hook rail inside the baking cabinet door: one hook per cup and spoon set, in size order. Four seconds to grab, air-drying after washing, and a drawer section freed for things that truly need one.
11. Stick Magnetic Spice Tins to the Fridge Side
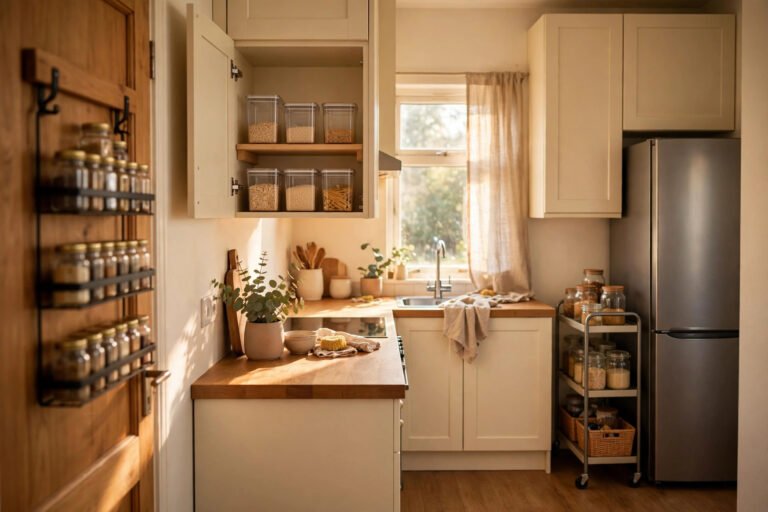
Spice jars colonise counters and cabinet fronts in every small kitchen. Small magnetic tins on the side of the fridge — the most underused metal wall in the room — hold the eight spices you actually use, at eye level. The rest live in one cabinet basket. It is the spice half of our cabinet-and-cart pantry system in miniature.

Give Every Appliance a Home
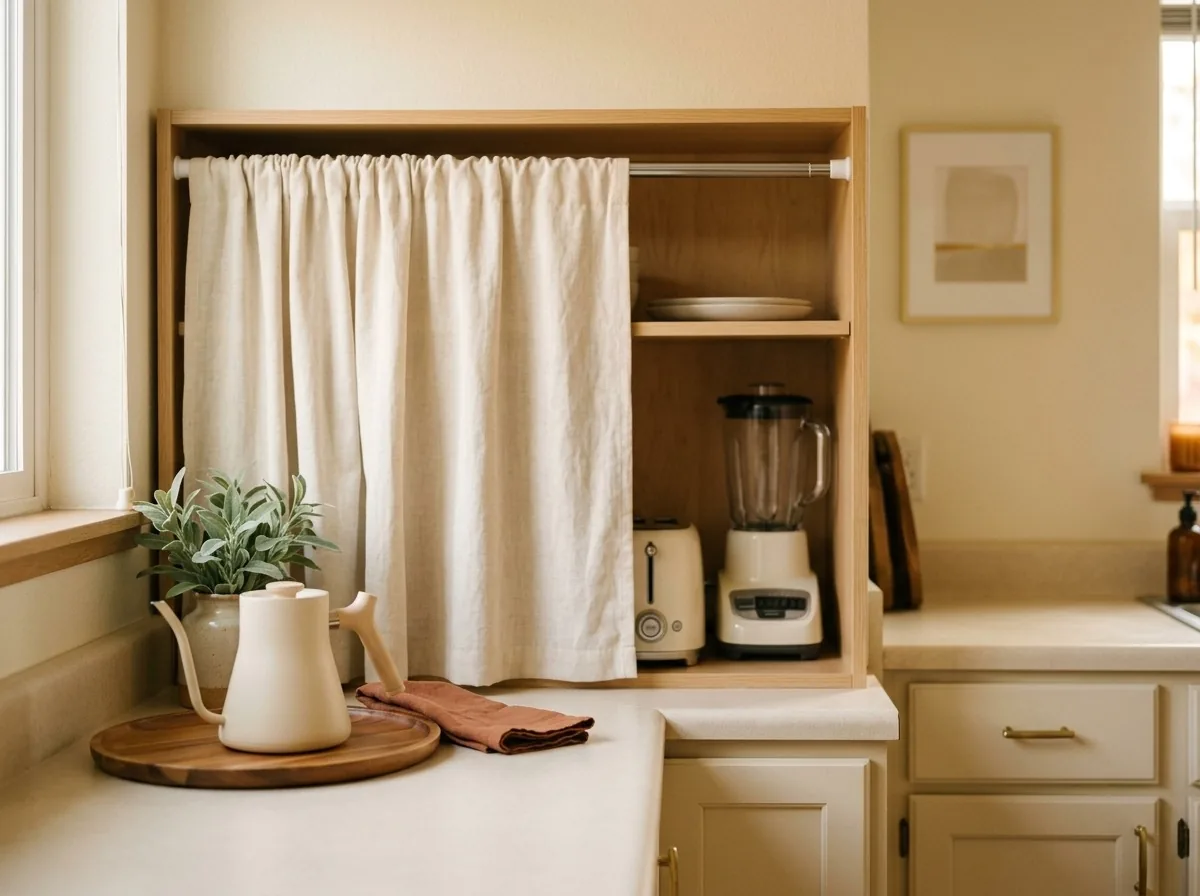
12. Build a Budget Appliance Garage
An appliance garage hides the toaster, blender and extras behind one front so the counter reads calm — and renters can build one without renovating. Budget versions: a low lidded basket, a fabric-covered box, or a curtain on a tension rod across an open nook. Everything stays plugged in and slides out for use. Budget tip: A tension rod plus a linen-look panel runs about $12, installed in two minutes.
13. Put Small Appliances on a One-Out Rotation
Most small kitchens own more appliances than they have counter for — so stop parking them all at once. Keep the one or two you use daily out; the rest live in a cabinet or on a cart, rotate out for their job, then go back. Waffle maker Sundays, slow cooker Tuesdays, air fryer Fridays. Rotation turns storage into a schedule instead of a land grab.

14. Corral the Coffee Station on One Tray
Coffee gear creeps: machine, pods, mugs, sugar, spoons. Put the whole station on one tray or shallow board and declare the tray’s edge the border of the coffee zone. It looks deliberate, wipes clean in one lift, and slides down the counter — or out to a serving station — when holiday cooking needs the space. The same rule organises tea and breakfast setups.

15. Park Bulky Appliances in a Pull-Out Home
The stand mixer and food processor are too heavy to haul from a high shelf, so they squat on the counter full-time. Give them a low cabinet at waist height instead, on a cheap rolling board or folded towel so they slide out rather than being lifted. Slide-out storage is the only kind bulky appliances actually return to — the real secret to keeping them off the counter.

16. Tame the Cords With Adhesive Clips
Half of counter “clutter” is cord spaghetti: cables snaking behind every appliance, trapping crumbs. Adhesive cord clips along the backsplash edge route each cable straight to its socket; a velcro tie removes the slack. Ten minutes, about $4, and the counter looks twice as organised — plus wiping stops being an obstacle course. Budget tip: Binder clips on the counter’s back edge do the same job free.

Win Back the Sink and Stove
17. Dry Dishes Over the Sink, Not Beside It
A dish rack parked beside the sink permanently annexes your best prep stretch. Move drying over the sink itself: an over-sink rack puts drips in the basin and hands the counter back the moment dishes are put away. Where sink and prep zones overlap, this swap can feel like gaining a whole second counter.

18. Give Soap and Sponge a Slim Sink Caddy
The sink edge breeds clutter: two bottles, a sponge, a brush, all migrating. A slim adhesive or over-faucet caddy corrals washing-up liquid, hand soap, sponge and brush in one vertical strip that drains into the sink. Load it with exactly what you use daily — the rest lives under the sink. Clear edges make the whole kitchen read cleaner.

19. Park Cooking Essentials on a Stove-Side Tray
Oil, salt, pepper and your two most-used utensils belong within arm’s reach of the stove — but loose, they scatter and grease-spot the counter. Park them on one small tray, board or turntable. The group reads as one intentional object, lifts off in one move for wiping, and stops the slow creep of “just one more bottle” beside the hob. Budget tip: A thrifted wooden board ($3–$5) makes the best tray — heat-proof and wipeable.

20. Lay a Cutting Board Over the Sink for Bonus Counter
On big cooking days, the sink itself can become counter. A large board laid across the basin creates a solid extra prep surface exactly where you want it — beside the main counter, over the basin for peelings. Lift it and the sink is back. One short counter run gains a third more workspace for the price of a board.

21. Swap the Dish Rack for a Roll-Up Rack or Mat
If over-sink racks feel bulky, go flat: a roll-up stainless rack unrolls across the sink for drying, then rolls into a drawer in seconds; a slim drying mat does the same disappearing act in the wash. Drying equipment should exist only while dishes are drying — permanent drying infrastructure is a luxury only big kitchens can afford.

Trays, Risers and Forgotten Corners
22. Corral Countertop Daily Items on a Single Tray
Whatever survived the daily-use test (Idea 2) still needs containing. Group what remains — oils, kettle, fruit bowl, utensil crock — on one large tray or board per zone. Seven loose objects read as clutter; the same seven on a tray read as a vignette. Cleaning gets honest too: one lift, one wipe, done. This is the counter version of the basket rule in our no-pantry systems.

23. Add a Shelf Riser and Double a Corner
Counters are one level; storage should be two. A small shelf riser in the counter corner creates a second tier for mugs, bowls or jars, with daily plates beneath. Match it to your tray-and-board palette so it reads as furniture, not scaffolding — the closest thing to adding a cabinet, and it leaves with you on moving day. Budget tip: Wooden risers start around $10; an upturned crate does the job free.

24. Turn the Dead Corner Into a Tiered Stand
Every L-shaped counter has a dead back corner where things go to be forgotten. Claim it with a two-tier stand or small turntable: fruit bowl on top, oils or jars below, everything visible and reachable with one spin. Corners earn their keep with display-style storage — if you cannot see it at a glance, it does not belong there.

25. Roll In a Cart as Counter Overflow
When the counter truly cannot hold the system, add a satellite. A slim rolling cart beside the counter — or in the fridge gap, like the cart pantry in our 25 no-pantry ideas — takes the overflow: rotation stock, baking supplies, the fruit bowl. On cooking days it is a prep station; on hosting days, a drinks trolley. One cart, zero counter space.

Routines That Keep It Clear Through the Holidays
26. Do the 2-Minute Nightly Counter Reset
Systems fail without a closing routine. Every night, two minutes: everything back to its zone, landing strip sorted, surfaces wiped, tomorrow’s first appliance out. Because every object now has a home, two minutes is honestly enough — and waking to a clear counter changes how a whole day of cooking feels. Budget tip: Pair the reset with an existing habit, like the kettle going on, and it never gets skipped.

27. Follow One-In, One-Out for Countertop Gadgets
New gadget season (hello, holiday sales) is how counters re-clutter. The rule: any new countertop item must evict one of equal size — to a cabinet, the donation box or a friend’s kitchen. Counter space is the scarcest resource in a small kitchen; every resident pays rent in daily use or it moves out.

28. Run a Pre-Holiday Counter Audit
One week before the big cooking days, audit like a professional kitchen. What will I actually cook? Which appliances does that menu need — and which can holiday in a box in the bedroom? Where will hot pans land and cooling racks go? Stage the answers now, borrowing the run-of-show thinking from our small-apartment hosting system.

29. Set Up a Serving Station Away From the Counters
The smartest counter idea is a second surface somewhere else. On the big day, move serving, drinks and desserts off the kitchen counter entirely: a bookshelf, folding table or ironing board becomes the buffet, exactly as in our hosting ideas for small apartments. The counter returns to pure cooking workspace, and eight people get fed from a kitchen built for two.

Small Kitchen Counter Checklist
Run this a week before the big cooking days:
- Four zones assigned: prep, cooking, sink, landing — everything homeless moved out
- Daily-use test done; weekly and monthly items off the counter
- Rail, knife strip and door storage up; spices on the fridge side
- Appliance garage and rotation set; cords clipped along the backsplash
- Sink and stove zones trayed and clear; one empty stretch protected
- Holiday audit done; serving station planned outside the kitchen
Frequently Asked Questions
How do I organize a small kitchen counter with almost no space?
Start with zones, not products: assign prep, cooking, sink and landing areas, then let only daily-use items live on the counter. Move storage vertical (rails, magnetic strips, cabinet doors), hide appliances behind one garage front, and keep one stretch completely empty as workspace.
What should stay on kitchen counters permanently?
Only what you use every day: typically the kettle or coffee maker, a knife solution, cooking oil and salt by the stove, soap by the sink, and anything inside a tidy appliance garage. Untouched for a week? It is a tenant, not a resident — off to a cabinet or a cart.
How do renters add kitchen storage without drilling?
Hang, stick, tension or lean: adhesive magnetic strips and hooks, over-door racks, tension rods with curtains or S-hooks, fridge-side magnetic tins, shelf risers and rolling carts. Everything here installs with hands only, removes cleanly, and moves with you — deposit fully intact.
How do I create more counter space for holiday cooking?
Audit a week ahead: box up appliances the menu does not need, lay a board over the sink for bonus prep surface, roll in a cart as overflow, and move serving and drinks to a station in another room. Holiday cooking needs landing space more than storage — clear stretches beat clever containers on the day.
What is an appliance garage, and can I make one on a budget?
An appliance garage is one front — a door, curtain, basket or cover — hiding several small appliances behind a single tidy shape. Budget versions cost $0–$15: a lidded basket, a fabric-covered box, or a curtain on a tension rod across a nook. Appliances stay plugged in, slide out for use, then disappear.
Conclusion
A small kitchen counter does not need to be bigger — it needs to be zoned, defended and mostly empty. Assign the four zones, let only daily items live there, send storage up the walls and appliances behind one front, and keep it alive with a two-minute nightly reset. Holiday cooking becomes the fun part again, not a game of counter Tetris.
Then finish the holiday setup the same way: stock the cabinets with 25 Small Pantry Organization Ideas for Kitchens With No Pantry at All, feed everyone with 23 Hosting Ideas for Small Apartments: Feed 8 People in a Tiny Living Room, make the bathroom guest-proof with 15 Ways to Make a Tiny Bathroom Guest-Ready in One Afternoon, and start the whole-home plan here: 31 Small Space Organization Ideas That Make Every Room Feel Bigger.
Save this on Pinterest — so your counters are clear before the first holiday recipe lands. Follow HomiBloom for simple ideas to make your home bloom.
One Comment